Tuesday, September 20, 2011

Wasted Youth - Week 3 Progress Report

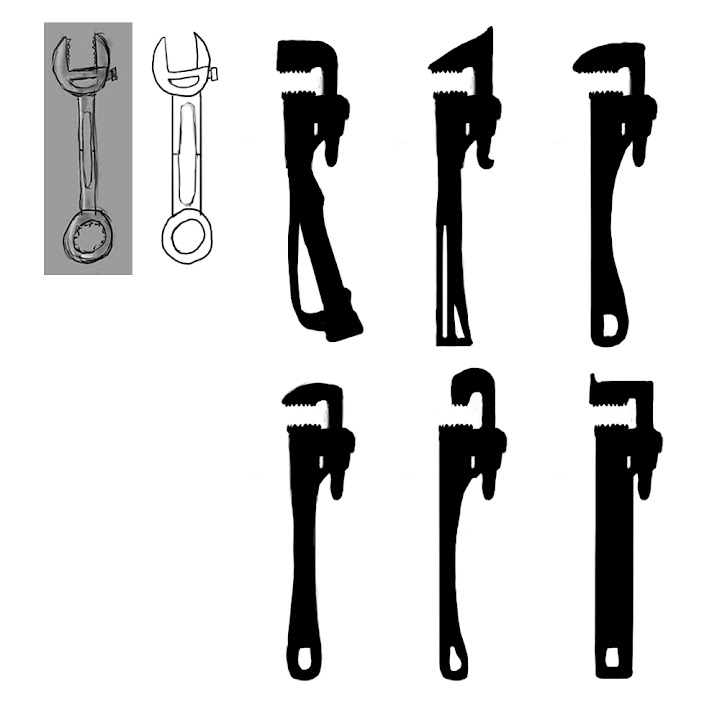
This week one of the main tasks the art team had was to create textures and high-poly sculpts of a few props so that we can test out our pipeline and try to nail down our style. The props given to most of our team were the lawn mower, power pole, trash bin, wheelbarrow, mailbox and mailbin. Each artist was told to get as many done as possible and return with the results so we could compare techniques.


Aleksei, our environment artist, came back with the mailbox, sculpted in Mudbox. He didn't get to do many others, however, as he spent most of his time working on other models. I'll post those in a moment.


I had the time to work on a number of props. The first one I did was the mail bin.

High-poly sculpt made in ZBrush
Render in Unity of the model with the first pass at the diffuse, normal and specular maps. Not very happy with the  diffuse, it needs more detail, but it was just a first attempt.
I also worked on the mail box.

Profile view of the sculpt.

Detail view of the mailbox - I used a very stylized alpha image for the wood grain and tried to exaggerate the main details like the rivets and the number stickers so they'd show up well in the normal map.

Render of the mail box in Unity with normal, specular and diffuse. The specular here is WAY too strong.
I also worked on the garbage bin and the lawn mower, but wasn't able to get diffuse maps painted for them, as I ran into some problems with the models once I had started sculpting - a benefit of doing this test is it gave us a chance to look for these sorts of problems and make sure they aren't repeated later in the project.

Detail of the wheel and body of the mower - mainly focused on adding the primary details to the wheel and damage and scratches to the mower.
Another detail of the mower. We only modelled one wheel, which will be duplicated and added to the mower in-engine, making for fewer resources to work on in the production phase.
High-poly sculpt of the trash bin.
Detail of the wheel and damage on the trash bin.
Our lead artist, Beau, did a test of the look and feel of the game levels themselves.

First he created rough models of the houses and laid them out in perspective.
Then he took that image and did a quick paintover, adding in the lanes for gameplay.
Then he focused on creating the levels of detail needed for each row of houses, simplifying and reducing contrast each row.
More detail and content added, giving us a good feel for how the game layers might look.
Alexei, our environment artist, started the first pass at creating models for our modular house system.


This process of building the house in parts then assembling them later will allow us to create a tremendous amount of assets in-game without having to make each of them by hand, giving us the ability to adapt to game testing and build tons of levels in a minimum amount of time and effort.

Alexei also created a new set of props, including a newspaper, a couch, a tire, a fire hydrant and a wood pallet.


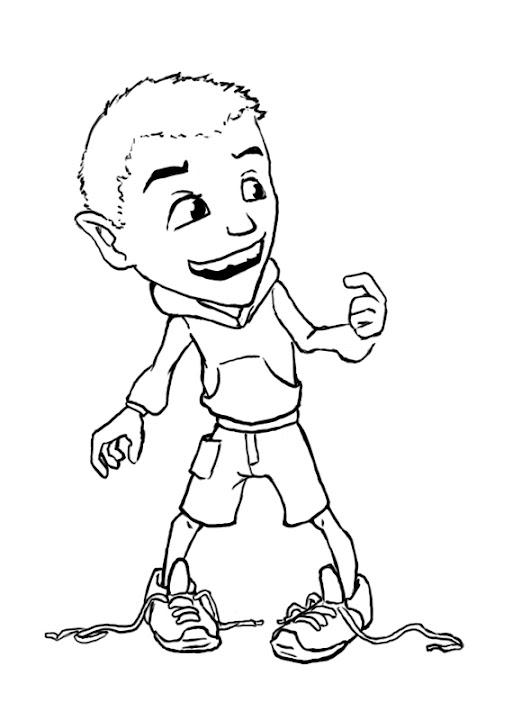
Finally, our character artist Zach got the first pass at color comps done for our first character, Jenny. We critiqued these comps and he's working on a revised pass at them, as well as about halfway done with her base model.


Our designers and programmer did a bunch of other great work this week, getting multiple lanes functioning, as well as location-based lane-restrictions. They've also got character abilities started, keyboard and controller input working and the first basic level ready for testing. Next week we're moving forward with menus, creating a complete list of sfx and our robot characters, getting object throwing, pause and quit menus and researching how to add sounds and checkpoints in Unity.

For the art team, our goals for next week are to add texture work to the style guide, finish the comps and model for the Jenny character, complete the concepts for our tank and keep working on new houses, props and texture work.

Tuesday, September 13, 2011

Wasted Youth - Summer Post-Mortem, and reflections on what's next

I spent the majority of this past summer working with my game team, Scrap Metal Games, on what will be our collective senior project - a side-scrolling puzzle platformer with the working title Wasted Youth.

The game, as pitched to the team originally during recruitment and over the first couple of weeks, was an ambitious one - turn-based tactical combat plus squad management with dozens of levels, similar to the X-Com series or Jagged Alliance, one of my all-time favorite games. The squads would consist of children living in a wasteland of trash and scraps left behind when all the adults in the world abandoned their pollution-wrecked homeworld in pursuit of a new utopian planet to infect, leaving the children behind. The meek literally inheriting the Earth. Through a long, difficult, amazing and exciting series of weeks we really collaborated to find ideas that we were all passionate about, could get behind and thought were of an achievable scope given the team, resources and time, and that's where we're at today.

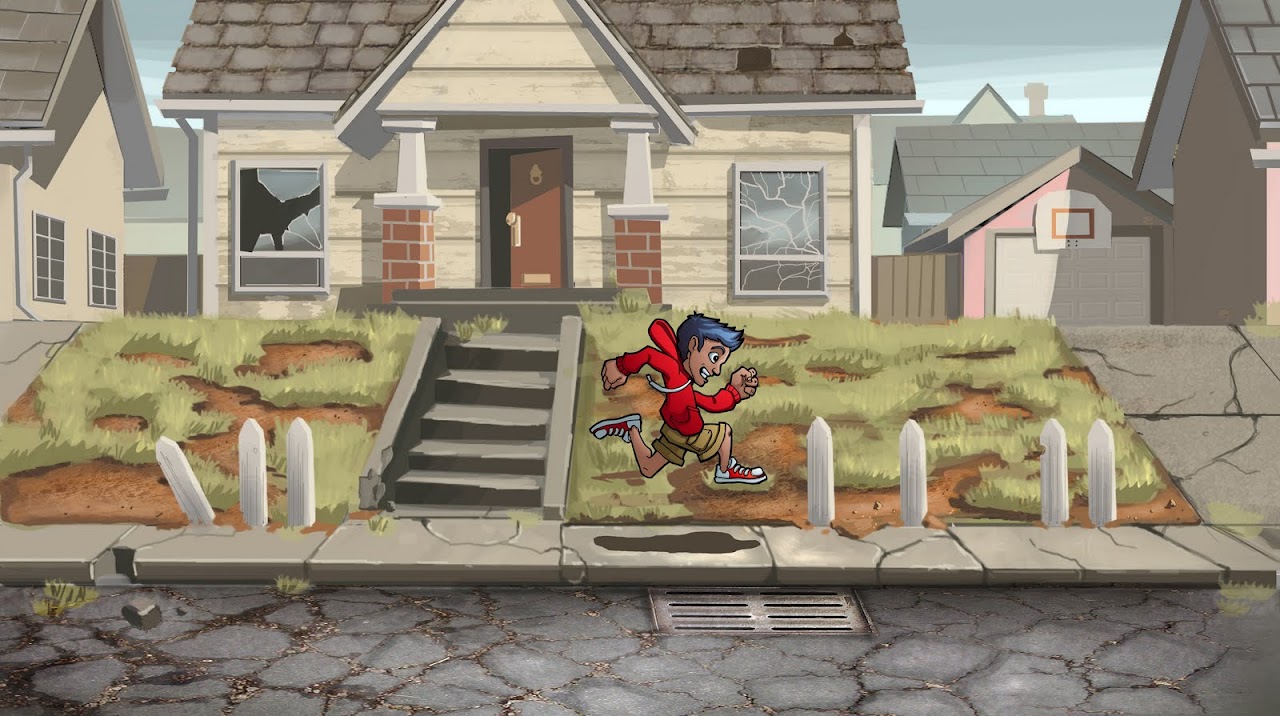
As of now, Wasted Youth is an entirely different animal - we retained the original world and the idea of the kids in the wasteland but decided to move in a more positive direction, eschewing the violence of squad-based combat in favor of trying to communicate positive messages through play - collaboration, teamwork, clever non-violent solutions to difficult problems and the value of discarded things.

The team consists of myself as Producer and Animator, Beau Bateman as Lead Artist, Alexi Gill as Environment Artist, Zach Hartlage as Character Artist, Randy McMeekin as Technical Artist, Jeff Mountain as UI Artist and Art Support, Thor Gass as Lead Systems Designer, Vincent Leone as Level Designer and Ryan Cassell as Technical Director.

Our main focus for the summer semester was to prepare ourselves for the Fall Semester and get us to the point where we could enter full production, to spend our time exploring the art styles, gameplay choices and world designs we wanted to so that we could enter production mode having made the hard decisions and ready to go to work. In that regard, I think we were very successful. We also spent a lot of time getting used to working with the game engine (Unity3d, in this case) and preparing basic prototypes to test ideas and the general asset pipeline. In that regard, as well, we were successful and have a fully interactive and playable rough tech demo in place, and are on schedule to have the first couple of levels designed and playable within the next couple of weeks.

One of the biggest challenges with working with a team of this size is communication and collaboration, making sure that everyone knows what they need to be doing, where the project currently stands, to collaborate on work, share progress and get feedback. For this team I found that using one of the Google Sites worked spectacularly well so far. I set it up at the beginning of summer and got the entire team to subscribe to it so it emails out whenever it is updated. Each of us share current progress in the blog section. I embed various Google Docs documents to give us all easy access to our Game Design Document, Technical Design Document and Style Guide, and we use the list/task system to keep track of who is doing what and when it is due.

I've also been working on developing a thorough cascading scrum toolset in Google Docs' spreadsheet program, but it's been difficult - I needed it to perform certain jobs that I couldn't really work on using Microsoft Project, as this task set has different requirements for budgeting time then you'd see in a business environment since we're all students with varying schedules, but it doesn't really feel like a good fit for the team so I've been playing it by ear, being sure to keep track of what tasks are going to be necessary for the project and getting them scheduled in our weekly team recap meetings on Mondays. Having them be part of the process, volunteering to handle a task rather then just assigning one, is far preferable in my opinion. Additionally, it helps all of us retain ownership of the work we have to do, we're more accountable for our work and we learn how to better estimate our skills and abilities.

Keeping a fairly well established chain of command for issues and such was also useful. Having Beau and Thor be the leads for their own teams makes sure that the two departments feel like they have ownership over their own jobs and know who they need to turn to with questions.

All in all, I'm excited for the next few weeks - we've just moved into full production mode, we're scheduled to have the first levels greyboxed in soon and we'll be ready for playtesting in the next couple of weeks. We've established look & feel for the world and for individual props and are just dialing in the texturing pipeline now, already having established the styles and pipeline for the characters, rigging and environment models. Now all we have left is making our group vision come to life.

Finally, I want to show off some of the fantastic art that's been generated from this project so far - a lot of the art that follows wasn't made by me but was made by my team during our summer exploratory preproduction phase.


Early environment model tests by Alexi Gill, exploring the ability to reuse assets to create an assortment of environment props and areas.


Look & Feel concepts and paintovers by Lead Artist Beau Bateman. The first is a rough concept and color comp of one of our characters. The rest is a process series in which he created rough models of the environment to speed up getting the shapes and perspective correct, then did a rough color pass. He then went through and populated and aged the world, then tossed in the character concept so that we could all see how things should look in-game.


Character and prop concepts by Zach Hartlage.


Vehicle concepts by Randy McMeekin.

Thursday, July 14, 2011

Parkour Animation

The second piece of animation I did for my Ani399 physicality class was a short, 100-frame parkour piece. First step was to analyze my video reference and create thumbnails, timed out in flash.


Next was to build a stage and block in the animation in Maya.


I then took feedback in class and incorporated the suggestions into the poses, then began splining.


I took further critique from class, changed the set to be something a bit more dramatic, finessed the splines and rendered the scene.

Ninja Drop animation

I started taking a class in animating for physicality. The first piece I did was of a ninja dropping from the ceiling and then slinking away.

First step was to sketch out thumbnails based on my video reference.


I then took these and blocked in the key poses for the animation.


From there, I took the feedback from my class session and fixed some of the poses. I then I began splining the animation, first using linear and autoTangent and then finessing them a bit.


There was a number of issues, especially the "sticky" hand resulting in the IK/FK switching, which I hadn't done before. I fixed the issues I could and polished the splines, resulting in this rendered version of the animation, the final so far.

Tuesday, April 26, 2011

PRJ350 - Week 15 Project Post-Mortem

Having gone through the process of creating this short, I want to look back at what went well, what didn't and what I'm taking away from the project.

First of all, I should look at what it was I set out to do, my initial plans, versus what I was able to accomplish in the time I had. Initially, I wanted to have a much more playful portion of the scene where the goblin turns the god lights on and off by touching the sword. Now, the god light stays on, even after he removes the anvil - not what I had hoped, but by the time I had gotten to the actual animation, I had run out of time for the polish needed.

Additionally, I wanted to use Maya's Paint Effects to put in geometric grass to soften the background, give it more volume and shape and help with the transitions between the ground and the trees. This, again, wasn't possible due to time constraints and had to be abandoned - what it would have done to my render time alone would have made the project impossible in the time allowed.

As far as the character's controls and acting, I really wanted to get more blend shapes set up to allow more facial rigging and expressions. This, too, had to be abandoned, as I had already taken up far more time then was allotted for the rigging process.

There's a number of other things that didn't make it in or had to be sacrificed for the project due to time constraints, but breaking down the specifics isn't particularly interesting. Instead, I should look more at the reasons behind why - most of the time spent on the project was in research and development of the rigging process and creating and tuning the textures and subsurface scattering shaders. Had I been more familiar with this process, I could have better planned the time for it, and gotten through the process much easier, but that's what I'm happiest about taking away from the project. The power of the rigging process in Maya and the capability that can be built into it is intriguing, to say the least, and I'm excited about learning more about it - the rig I have in my scene is pretty basic, all things considered, but it did the trick for what I needed it for, and I learned more about how to plan a rig for animation and how to animate a rig well just having spent the weeks researching and building it and learning from others who were more proficient with the process.

At the outset, I did lose a week or two of work when I had to go back and redesign the character - a step I'm very glad I did, as the new character design has a lot more appeal and was just a lot more fun to work with. The more I model, the more I learn about edge loops and how to design them for deformation, and this character's belly and wrists certainly could have used a lot more careful planning. His skinning, as well, is a bit atrocious, which is something I'm definitely going to have to learn more about. Using Maya's paint weights tool was a new experience, and more difficult than I had originally planned, and I spent much of my animation time posing the character in ways that minimized or hid any problems I had with the skinning.

Overall, I wish I had gotten through the process of building and designing the character faster so that I had more time for animation - as it was what I was hoping to focus on, having only two or three weeks to do more animation then I had done in all of my animation classes for the year combined meant that great sacrifices had to be made in quality. There simply was no way to have time to properly block in poses and spend the weeks needed to polish the spline curves and finesse the animation into appealing, smooth and high-quality motion the way I would have liked. Tight deadlines are a reality in the industry, I understand, but with all the technical hurdles I faced in creating a well-rigged character that would allow for quality animation, I don't know what the alternative would have been other then planning for very simple, short animations or creating a simpler character without the technical requirements a well-rigged and skinned character posed.

Sunday, April 24, 2011

PRJ350 - Week 14 Progress Journal

What a long, miserable day.

I've spent the last six or seven hours having to render out the first 140 frames of my animation one-by-one by hand, because if I don't, the volumetric "god lights" don't work. It is absolutely maddening, tedious and incredibly boring but it is nearly done.

So, what's changed since last week?

I spent a lot of time cleaning up the poses in my animation and fretting over what to do with the opening of it - the walk and his "surprise" reaction just never worked right for me, and it was getting far too close to the end to fix them. It was upon reflection to this problem that I had an epiphany.

I don't need them at all.

If I start the shot out with the goblin already looking at the sword, we get it. We understand the setup right from the get-go - he's a goblin, this is a sword in a stone. We know how this story goes. I needed to give him some time to consider the sword, to think about it and to ponder his approach, but trying to tell the story with him walking in was trying to tell too much. I needed to introduce his personality in his walk, his mood and why he might be feeling that way, then show a drastic, big change of emotion followed by another drastic change of emotion, from sad to surprised to cautious, all at once, and that is really, really hard. And really, really unnecessary.

I proposed the plan to Pam Matheus and Antony DeFato, both former Disney animators with excellent senses of story and timing, and they agreed it was the right decision. DeFato even brought the idea one step further - start the shot with the camera tight on the character so I could really play up his thinking process, then pull out to reveal the goblin's motivator. Genius.

I deleted my walk and surprise keyframes and got to work adding a good animated hold, using his eyes and slight shifts in the direction of his head to really try to get the subtle animation in to show his thinking process and then proceeded from there. Additionally, I spent a huge amount of time working on getting the spline pass done this week, all while working on wrapping up other assignments (expect more blog posts in the next few days as I finish work for my other classes). I really, really wish I had a few more days for this, or weeks, or months, but I'm happy with what I'm getting so far, and very happy with everything I've learned from the project. I know it isn't the strongest piece in the entire class, but it is the culmination of months of hard work, and I stand behind the result.

I'll have the final posted here in a few days, once I've had time to composite it, build in the title and credits screens and do the post-processing. I'll also follow this post up with a post-mortem, most likely, to review what went well, what didn't and what I'm taking away having gone through the process twice now. For now, I've got to render out the last of the frames (11 left to go, thank god), start the compositing and get some rest before the last big push of the semester.

Sunday, April 17, 2011

PRJ350 - Week 13 Progress Journal

A huge effort this week went into working on getting the blocking pass done - it took a lot more work then I expected, but animation always does. I'm still not particularly happy with the first half, but from the moment when he pulls the sword on I think looks great. Good weight, good action and follow-through, and enough poses to make the splining pass a snap, at least to get passable motion. Funny enough, with the character design, I almost prefer it without the splines - the stepped poses actually give it sort of a stop-motion feel.

The below video is another playblast of the viewport with the final camera postion. I need to revise the timing of the initial walk-in and the spurprise pose, add in a couple poses there, and add in a couple poses for the goblin looking around to see if he's being watched when he goes into the cower pose before the first pull. After the first pull, I need a couple eye darts and slight shifts of weight when he surveys the sword and anvil. Beyond that, there's a couple other acting choices I could make, but the clock is definitely ticking.


I also spent a little time working on the lighting, trying to get softer shadows on the god light that comes down on the sword. I worked with Professor Chun Lu and reviewed some notes she gave to our Maya class last semester and found the settings I needed. The final result gave me this:


This week is going to be a mad rush to get everything done and rendered - the project has swollen to 900 frames, meaning I'm looking at around 24 hours or more of rendering. Really need to get the last little bits in and start the process so I can get it composited and submit it in time.