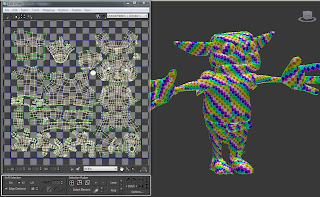
The only parts I'll have to be cautious about in terms of seams are the cheeks and the wrists, for the most part. I had to make cuts there to get the mesh to flatten out without too much distortion, but painting over the seams carefully in photoshop by directly importing the model should help create a fairly seamless paint.
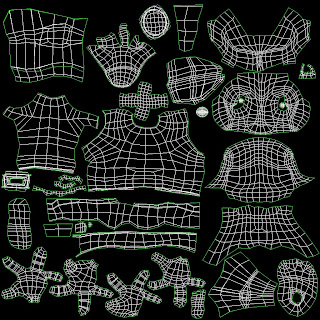
Once I had the UV layouts arranged, I went in and created a flat-color flood, to test out the model and be sure it looked okay.
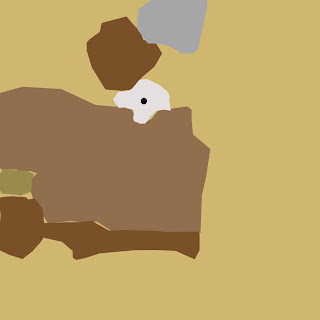
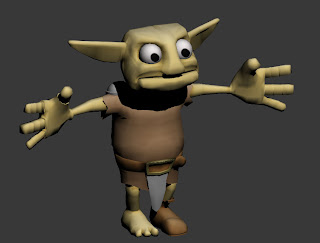
I then applied the texture to the model. Success. So far, things were coming together, and it was exciting to see him with some color on him - it meant I'm that much closer toward my goal.
I then applied an Ambient Occlusion diffuse map to the model and set it up with a number of directional lights to eliminate hard shadows, so that I could render out a burned AO texture pass.
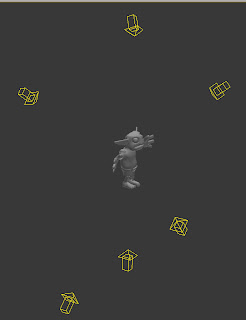
Once rendered, it created a basic shadowed and flat version of the model texture, which I could overlay on the original flood fill to help inform the shape and give the illusion of light hitting the model. This will greatly speed up the texturing process, and give a much better overall look.
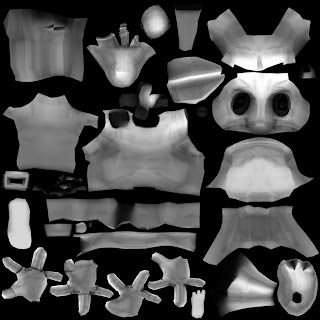
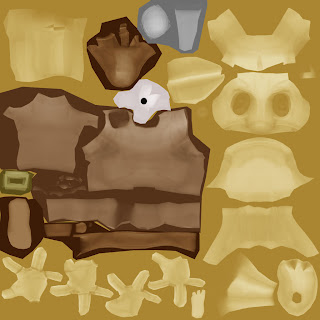
The new texture was then applied to the model, and the components were re-separated from the mesh. I'm now having to step away from the project for a bit, as I've been neglecting my other work to get this far on it, but I'm glad to see so much progress and I'm looking forward to getting to paint him up.

No comments:
Post a Comment