
I began by building out my basic environment, using a technique I learned last semester in CG300 to create a tree, then duplicating it and tweaking it to create a second. Essentially, I built a cylinder, then used a number of latices and nonlinear bend and twist deformers to create the central trunk, then duplicated that shape and scaled it and twisted it to create the branch shapes. I then cut the hole for the branch in the main trunk and combined the meshes, using target weld, and pushed the combined verts around until I had the shape I wanted.

I then exported the tree from Maya into Max and unwrapped it, as I prefer the pelt and relax unwrap tools available there to Maya's unwrap options for organic shapes. I had a good wood bark photo in my reference library that I converted into a tiling texture, then applied it to the re-imported tree shape in Maya, repeating the bark texture as many times as needed to get the scale to look right.

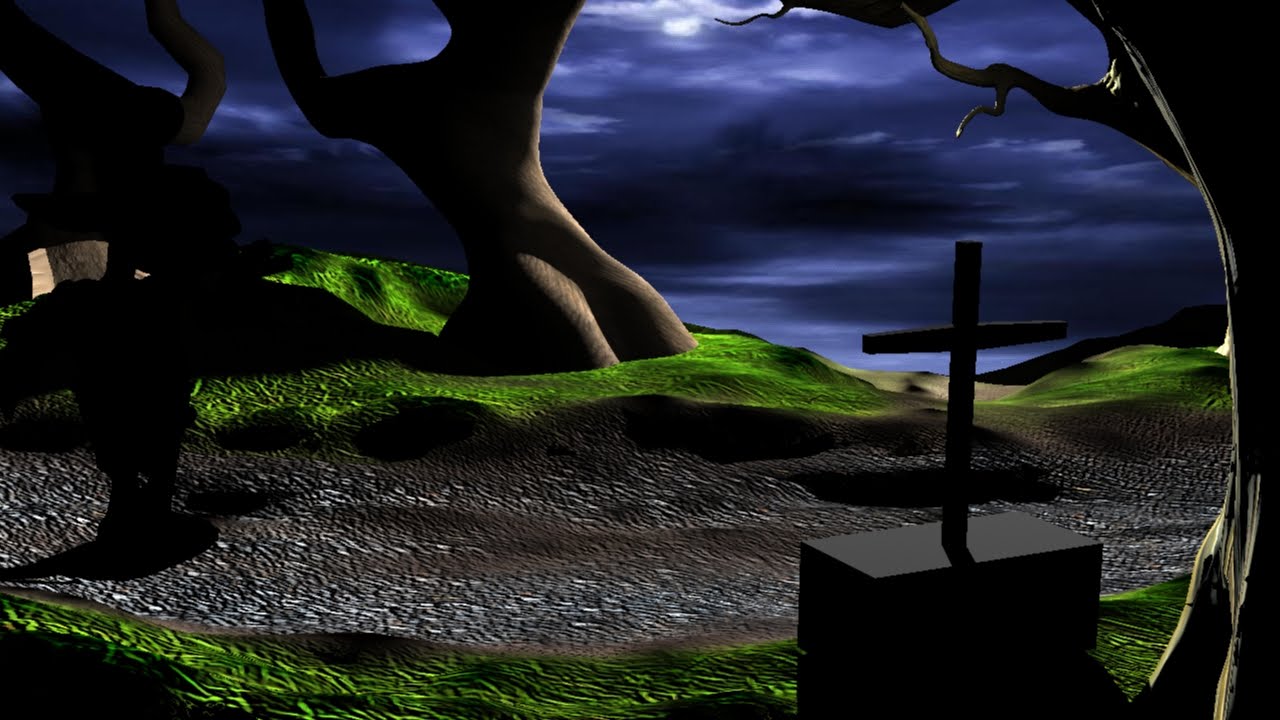
Once that was done, I exported the ground plane into Mudbox to sculpt it, creating a roadway sunk into the ground and a slight valley where the main action was going to play out in the scene, allowing the sword and goblin to break the horizon and be silhouetted against the sky. I then re-imported this into Maya and got it placed where it needed to be.

I then brought in a tree from a previous project to save time and add variety to my scene, one that had been sculpted in Mudbox - it is a bit higher poly then I'd like, but it will look great rendered, and I can always render the background plate separately from the foreground elements, since the lighting won't move - this will likely be a necessity once I get the high-poly grass laid in. I also brought in a copy of the goblin's mesh, to make sure the scale was going to work well. I blocked in the camera and deleted any of the polys from the foreground tree that weren't going to be part of the final render, to cut down on excess geometry,

Finally, I got the textures set up for the ground plane and new trees, as well as the sky background. They're still not perfect, but they're looking okay so far. As I mentioned previously, I'll be painting in high-poly grasses in the foreground and background to help add a better finished look to the scene and create a more realistic environment, but for the blocking phase this is unnecessary, as it creates a huge overhead for rendering and file size, and makes it very difficult to work on the school's sub-par 32 bit systems as they tend to choke on high-poly scenes. I'll likely end up adding the grass fairly soon and making sure it is on a separate layer, so I can turn it off when I don't want it in the scene. It will also make the rendering process easier, having them out of the way.
I also brought in the fully rigged character model at this time, so I could begin test renders. This was a tricky process, as I often lost a lot of the shader information or rigging if it wasn't done correctly. I ended up spending an hour or two cleaning up old garbage left behind in both scenes, lots of hidden geometry and rigging artifacts that aren't used and won't ever be used, to facilitate the process. To get the merge to work best I ended up importing the environment into the rigged character file, rather then the other way around, then going through and carefully removing and renaming things that may present problems in the future.

Once I had the two files properly merged, I had to spend some time fixing some rigging issues and adding the last few controllers I needed for the rig that had gotten missed previously - in particular, I had somehow neglected to add nurbs shapes for controllers for the loincloth and ear joints. Once I had them in place and the model was ready to animate, I wanted to get a rudimentary lighting pass done, as I knew it was another critical, tricky step that I would likely need assistance and feedback on, so better to get it started now.
The first lighting pass was problematic - some of the lights didn't want to work properly, I was inheriting lights from the previous rigging file that weren't visible in my scene view but overpowered everything in my render, and the shader for the goblin had to be rebuilt.
I had a lot of notes left over from last time I built the shader, so it was simple enough to re-link the files and tweak some of the settings to get it in - I need to revisit it soon, however, as the light is passing through the character far too strongly and ruins the effect, causing the little dude to glow a bit.

Once that was corrected, I moved him to the point where he'll first stop and see the sword and anvil (the sword and anvil are currently just placeholder geometry - I need to model them both this week, and they don't really have much on them in terms of lighting).

I also put the character into his first real test pose - I will need to revisit a lot of the blend shapes, I've got a handful of them built now and I imported a dozen or so meshes of the goblin to use for other blend shape targets once I get the basic blocking in, as it will be easier to build target sculpts then, since he is a one-off rig.

And that's where we're at for the moment. I'm hoping to get some more of the base poses in tonight, but I wanted to get this blog post up before midnight, and I've got to go to a quick birthday dinner for a friend. All in all, I'm feeling a lot more confident about the scene and am excited about the next few weeks, although there is a huuuuuge amount of animation to get done for this project, and not a lot of weeks left to do it.
No comments:
Post a Comment